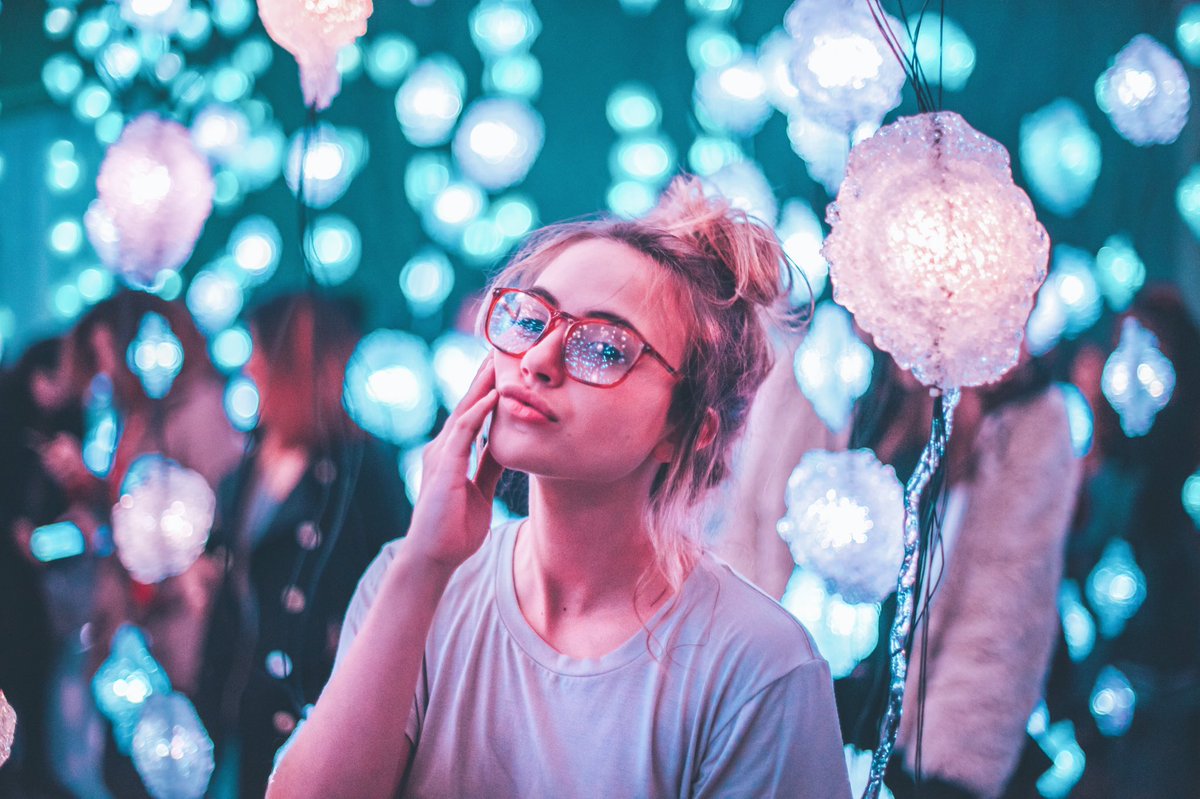
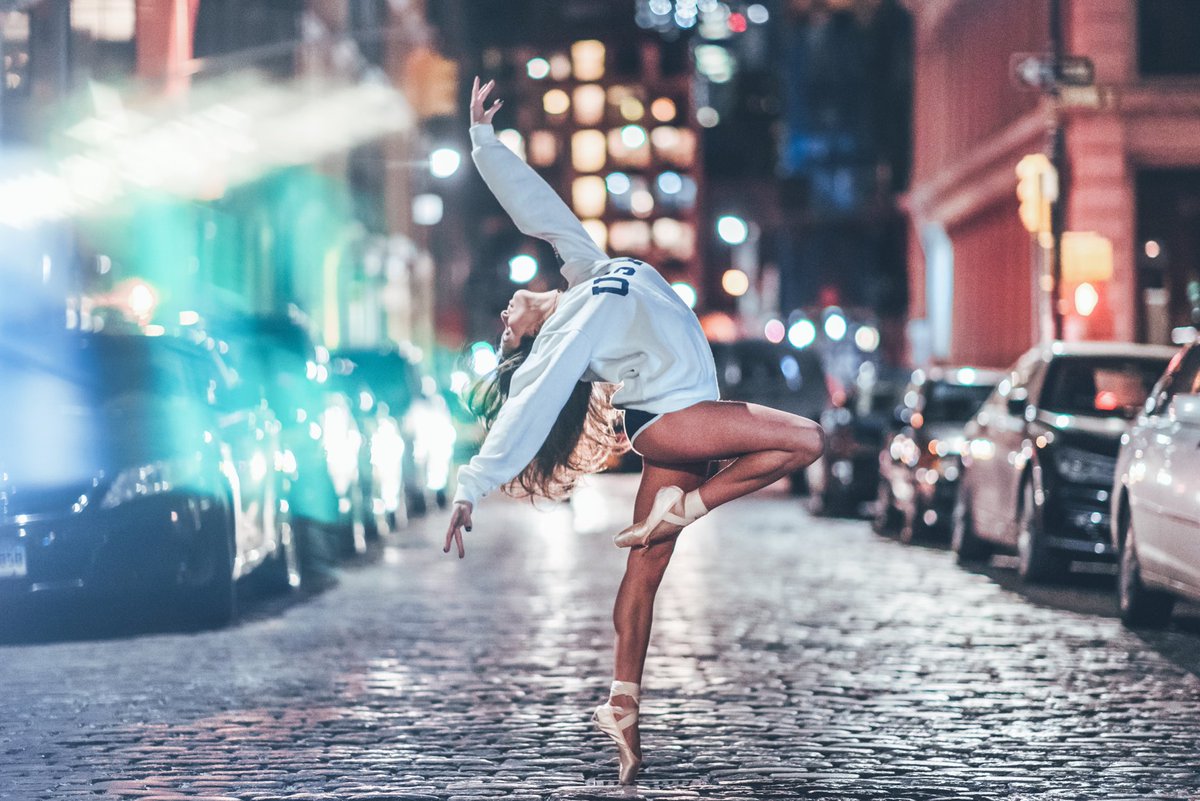
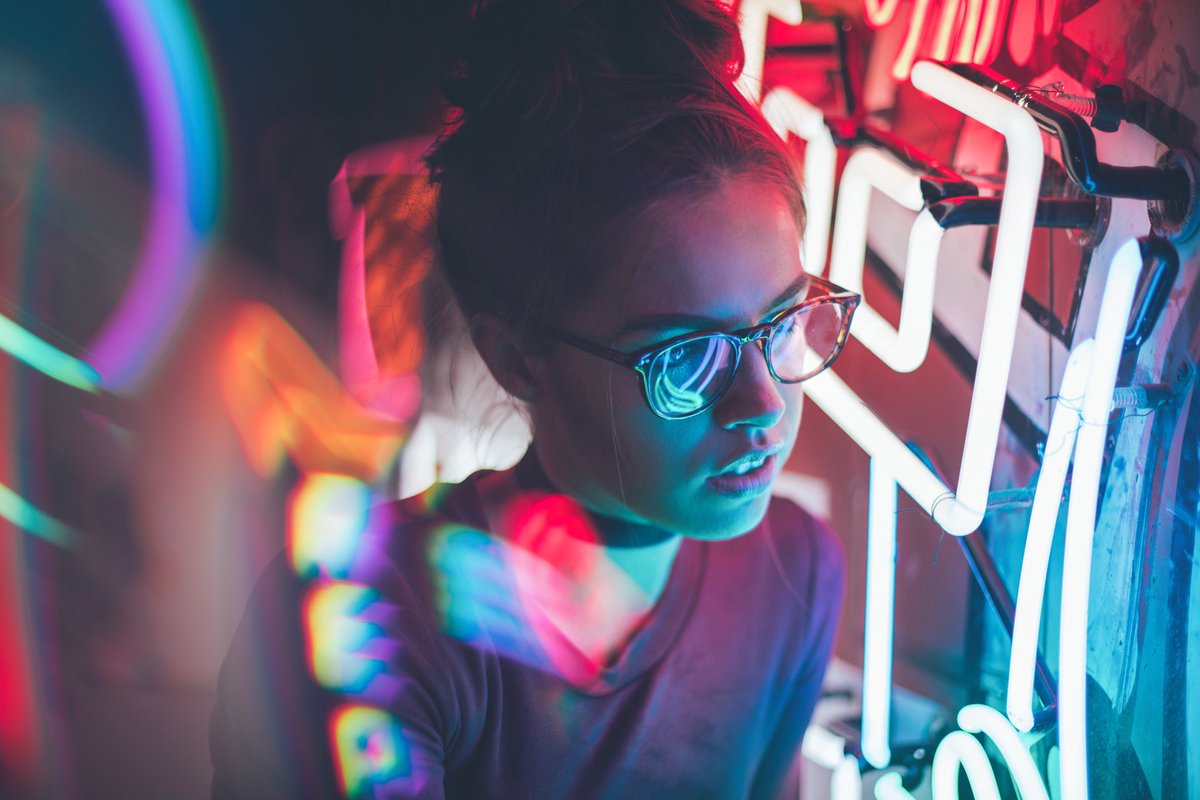
If you’re a Photography enthusiast and Instagram is where you spend most of the time looking for inspiration from Photographers around the world, then it is highly unlikely that you are new to the name ‘Brandon Woelfel’. His unique Photography and editing skills are loved by millions around the globe and he has even got the chance to shoot with Lilly Singh, the superwoman, as known as on YouTube.
You can check out his work on Instagram and his website here!


So now that you’ve seen his work, let’s learn how to get a similar result in any picture of yours.This is the closest I could get to decoding his editing style.
- Brandon’s pictures are a bit underexposed so that the details in the neon lights is preserved. To bring out the face and the model from the shadows, we have to change the following things: Highlights to -33, Whites to +57 and Blacks to +100.
- To get similar tones of pink and blue hues, we will work in the Camera Calibration settings. On the right panel, scroll down to the Camera Calibration and make the following changes:
Shadows Tint = -100
Red Primary: Hue = -21 , Saturation = -2
Green Primary: Hue = +14 , Saturation = +57
Blue Primary: Hue = -100 , Saturation = 0
- His pictures have a hint of softness in them which we can achieve by reducing the clarity to -7 and Luminance to 12. You can find the Luminance slider under the Noise Reduction tab on the right panel.
- To balance the Blue Hues, go the tab that says HSL/COLOR/B&W and select colour followed by selecting the colour Blue. Set its Hue to +44 and luminance to +69.
- Finally, to brighten up the face, use a radial filter with the invert mask box checked, so that the changes we made are applied inside the circle and not outside. Increase the sharpness to 70 and increase the warmth to +7.
Comments
Post a Comment